
Our editorial team individually chooses every product that is suggested on neatcupkit. We might get paid if you buy something after clicking on any of these links.
If you’ve ever dug through a mountain of cookware just to find the right lid, you know the struggle. Pots stacked inside pans. Lids rattling around loose. Every time you pull something out, three other things come crashing down.
A pull out cabinet organizer for pots and pans changes that. It turns chaotic cabinets into smooth, accessible storage. You slide open a drawer and see everything at once. No more bending, digging, or cursing under your breath.
Whether you’re upgrading your kitchen pull out cabinets or just tired of the mess, this guide will walk you through everything you need to know. We’ll cover why these organizers work so well, how to choose the right one, and how to install and maintain it like a pro.
Space Optimization
Most lower pull out cabinet waste vertical space. You stack pots on top of each other and lose half the room. A slide-out shelving system uses every inch. It brings hidden cookware into view and doubles your usable storage.
Better Visibility
When everything’s on a pull-out rack, you see it all at once. No more guessing which pot is buried at the back. You grab what you need and get cooking. It’s that simple.
Reduced Clutter
Loose lids rolling around. Pans stacked at weird angles. A pan pull out drawer keeps everything upright and organized. You’ll never dig through a pile again.
Protection for Cookware
Stacking heavy pots scratches nonstick surfaces and dents aluminum. A pots and pans organizer under pull out cabinet separates each piece. Your cookware lasts longer and looks better.
Easier Access
Pull-out organizers glide on ball-bearing slides. You don’t have to crouch down and reach into dark corners. Just pull the drawer and grab what you need. It’s easier on your back and your patience.
Step 1: Measure Your Pull Out Cabinet Space
Start by measuring the inside of your pull out cabinet. You need three numbers: width, depth, and height.
Write them down. Don’t eyeball it. Even an inch off can mean the difference between a perfect fit and a frustrating return.
Step 2: Choose the Right Size
Most organizers come in standard widths: 12″, 15″, 18″, 21″, and 24″. Pick one that fits your pull out cabinet with a little room on each side for the mounting brackets.
Depth matters too. Make sure the organizer can extend fully without hitting the pull out cabinet door or wall behind it.
Step 3: Pick Your Material
Chrome plating: Sleek and rust-resistant. Great for modern kitchens. Easy to wipe down.
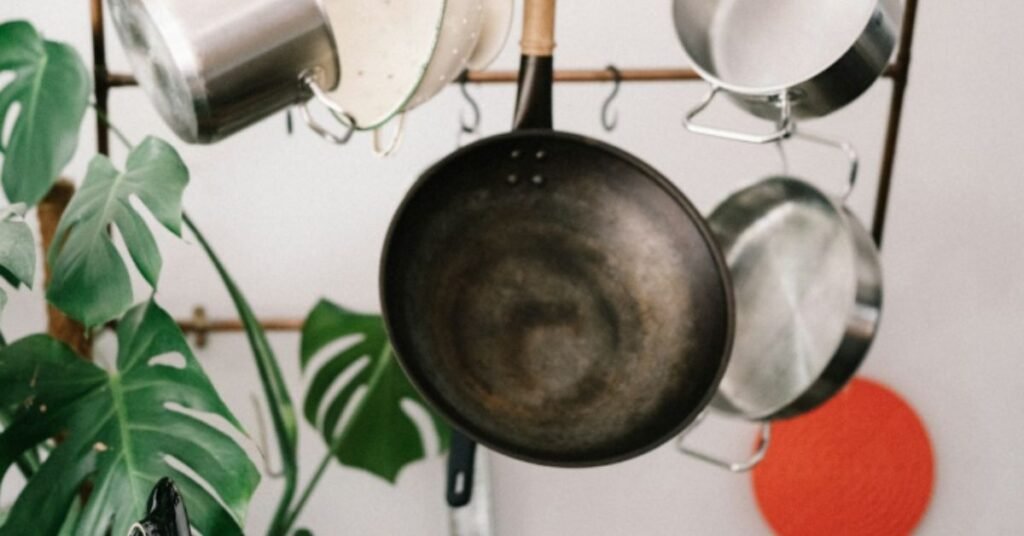
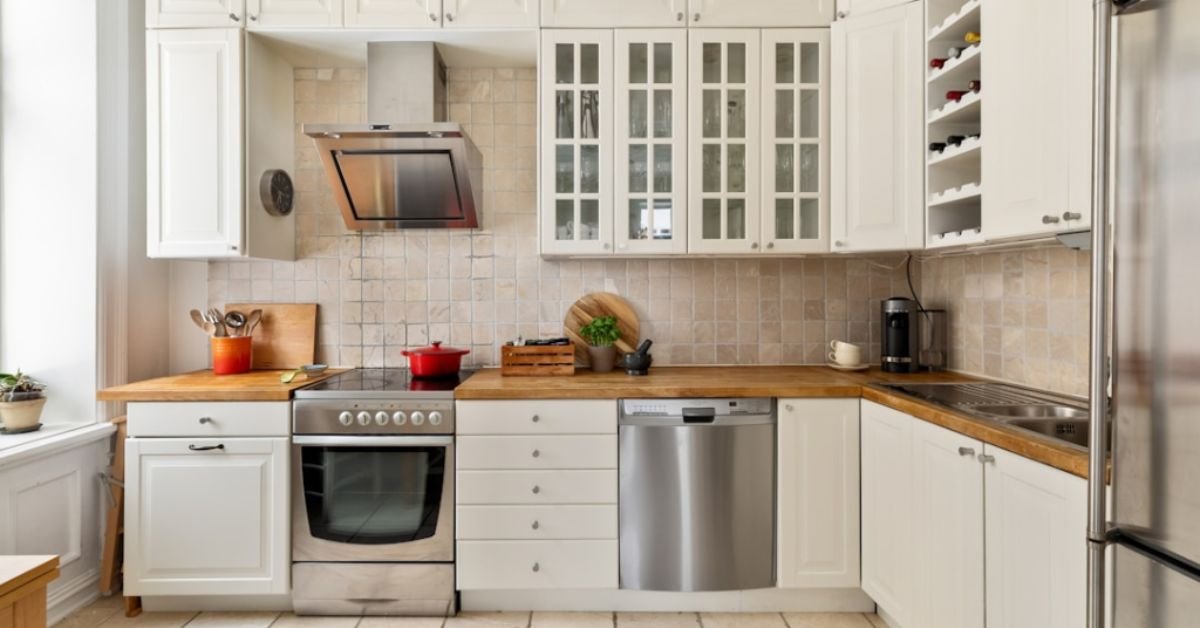
Stainless steel: Durable and strong. Handles heavy pots without bending. Perfect if you have cast iron cookware.
Wire baskets: Affordable and lightweight. Good airflow keeps things dry. Not as sturdy as solid metal.
Wood or laminate: Matches traditional cabinetry. Looks polished. Heavier and pricier than wire options.
Step 4: Decide on Installation Type
Slide-out single tier: One shelf that pulls out. Simple and affordable. Best for smaller collections.
Rev a shelf two tier cookware organizer: Two levels of storage. Top tier for lids, bottom for pots. Maximizes vertical space.
Adjustable dividers: Lets you customize spacing. Great if you have different-sized cookware. Keeps everything from shifting around.
Soft-close mechanism: Prevents slamming. Protects your pull out cabinet and keeps things quiet. Worth the extra cost if you value smooth operation.
Step 5: Check Weight Capacity
Heavy cast-iron pans and Dutch ovens need sturdy rails. Look for organizers rated for at least 75–100 pounds. Cheaper models might sag or jam under weight.
Where to Install
Lower cabinets: The most common spot. Easy to access from a standing position. Perfect for heavy pots and pans.
Under the sink: If you have space after plumbing, a narrow organizer works here. Good for smaller pans or lids.
Pantry or utility pull out cabinet: If your main kitchen cabinets are full, consider a pantry pull out cabinet. You can store baking trays, woks, and pressure cookers.
Height Adjustment
Some organizers let you adjust the height of the shelves. Use this to fit taller pots or create more space for stacked lids.
Don’t install too low. You want enough clearance so the drawer slides smoothly without scraping the pull out cabinet floor.
Tips for Smooth Sliding
Use quality ball bearing slides: They last longer and glide effortlessly. Cheap plastic wheels wear out fast.
Level the rails: Even a slight tilt can cause sticking. Use a level during installation.
Don’t overload: Stick to the weight limit. Overloading strains the slides and shortens their lifespan.
Weight Balance
Distribute weight evenly across the organizer. If all your heavy pots sit on one side, the drawer might tilt or jam. Place heavier items toward the back and lighter ones in front.
Pots and Pans
Stand them upright using dividers. This saves space and protects nonstick coatings. Group by size so you can grab the right one quickly.
Lids
Store lids vertically in a separate tier or use a lid organizer insert. This keeps them from rattling around and makes them easy to see.
Baking Trays and Sheet Pans
These fit well in deeper pull-out drawers. Stand them on edge so you can flip through them like files. No more pulling out five trays to reach the one at the back.
Woks and Large Pots
If you have a wok or stockpot, give it a dedicated space. Use an adjustable organizer so it doesn’t crowd smaller items.
Pressure Cookers
These are heavy and awkwardly shaped. Place them on a lower shelf with plenty of clearance. Make sure the organizer can handle the weight.
Keep Rails Lubricated
Over time, slides can get sticky. Apply a dry lubricant or silicone spray once or twice a year. Wipe off any excess to avoid attracting dust.
Clean Stainless Steel and Chrome Finishes
Use a damp cloth with mild dish soap. Avoid abrasive cleaners that scratch the surface. Dry thoroughly to prevent water spots.
Prevent Rust
If you have a wire basket organizer, check for rust spots. Wipe down after cleaning wet pots. Store only dry cookware to avoid moisture buildup.
Avoid Squeaks
Squeaky slides usually mean dirt buildup or lack of lubrication. Remove the drawer, clean the tracks, and reapply lubricant.
Check Screws and Brackets
Every few months, inspect the mounting hardware. Tighten any loose screws. This keeps the organizer stable and prevents sagging.
A pull out cabinet organizer for pots and pans transforms how you cook. No more avalanches of cookware. No more scratched nonstick pans. Just smooth, organized access to everything you need.
Choosing the right one comes down to measuring your space, picking quality materials, and installing it properly. Once it’s in, you’ll wonder how you ever lived without it.
Your kitchen will look cleaner. Your cookware will last longer. And you’ll spend less time hunting for the right pot and more time cooking meals you love.
Ready to reclaim your cabinets? Start by measuring your space and exploring options like the glideware pull out cabinet organizer for pots and pans or a best pull out cabinet organizer pots and pans from trusted brands. Your future self will thank you.
It depends on your skills, tools, and time. Building a pull out cabinet organizer yourself can be more affordable if you already have the necessary tools and materials. However, purchasing a pre-made organizer often saves time and ensures professional quality, especially if you lack woodworking experience. When comparing costs, factor in materials like wood, slides, screws, and hardware, as well as the value of your time.
To create wooden shelves for a pull out cabinet:
For a detailed tutorial, check out woodworking resources or video guides online.
The best wood for pull out cabinet organizers includes:
Choose wood that can support the weight of your pots and pans while fitting your budget.
For pull out cabinet shelves holding pots and pans, ¾-inch thick wood is recommended. This thickness provides adequate strength and stability to support heavy cookware without sagging. If you’re storing lighter items, ½-inch thick wood may suffice, but thicker is always safer for durability.
Wire-rack: Lighter, more affordable, and offers airflow. Good for everyday pots and pans.
Solid-base: Sturdier, quieter, and looks more polished. Better for heavy cookware and a premium kitchen look.
Choose based on your cookware weight and aesthetic preference.